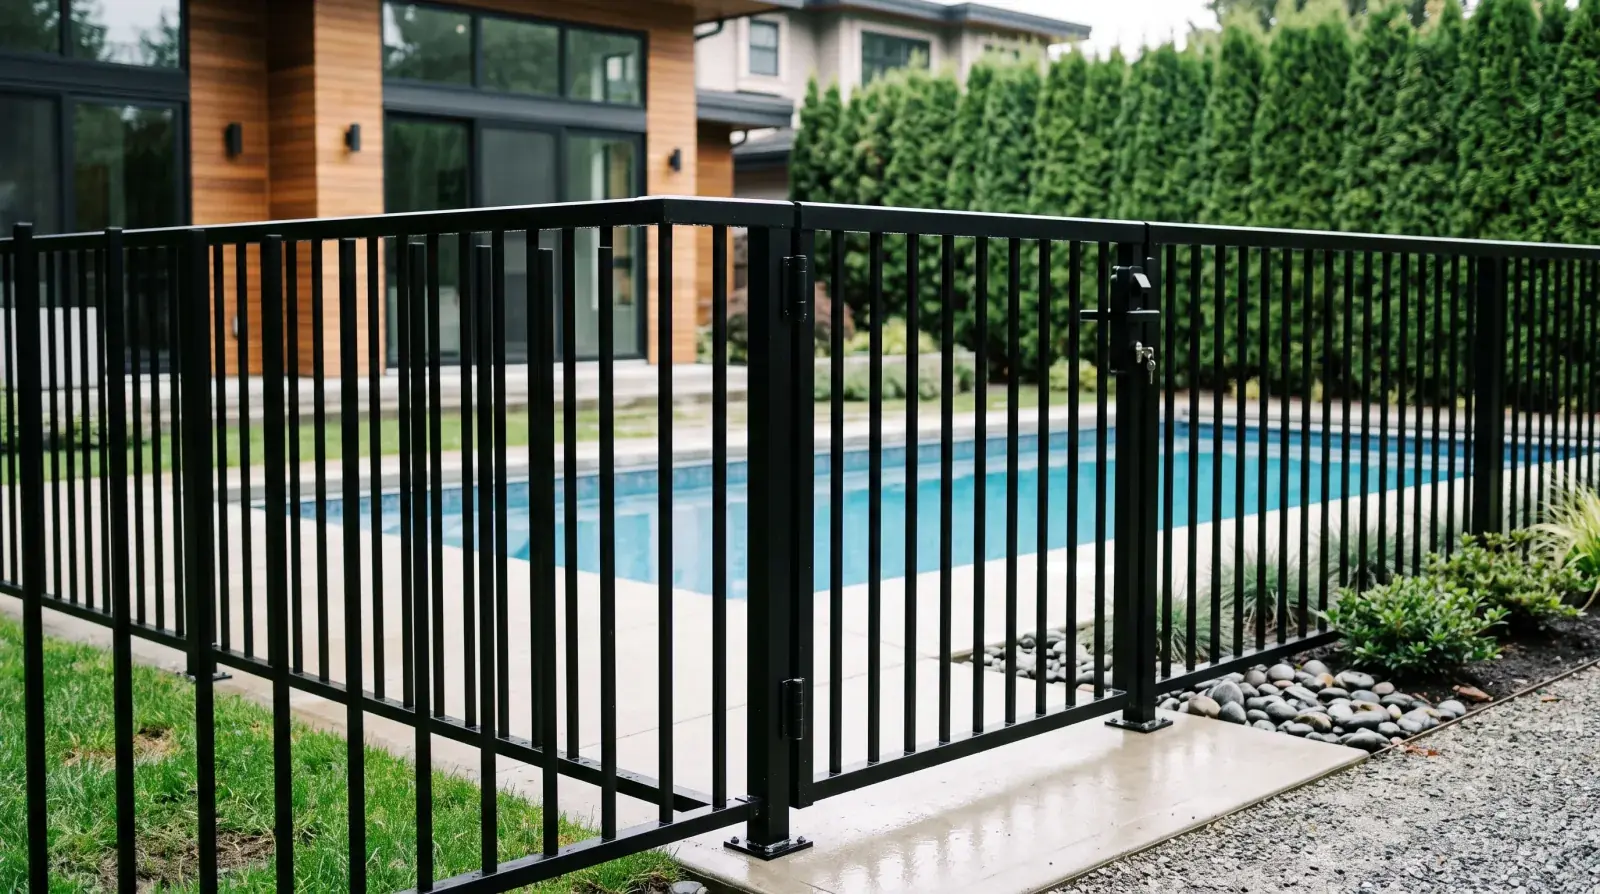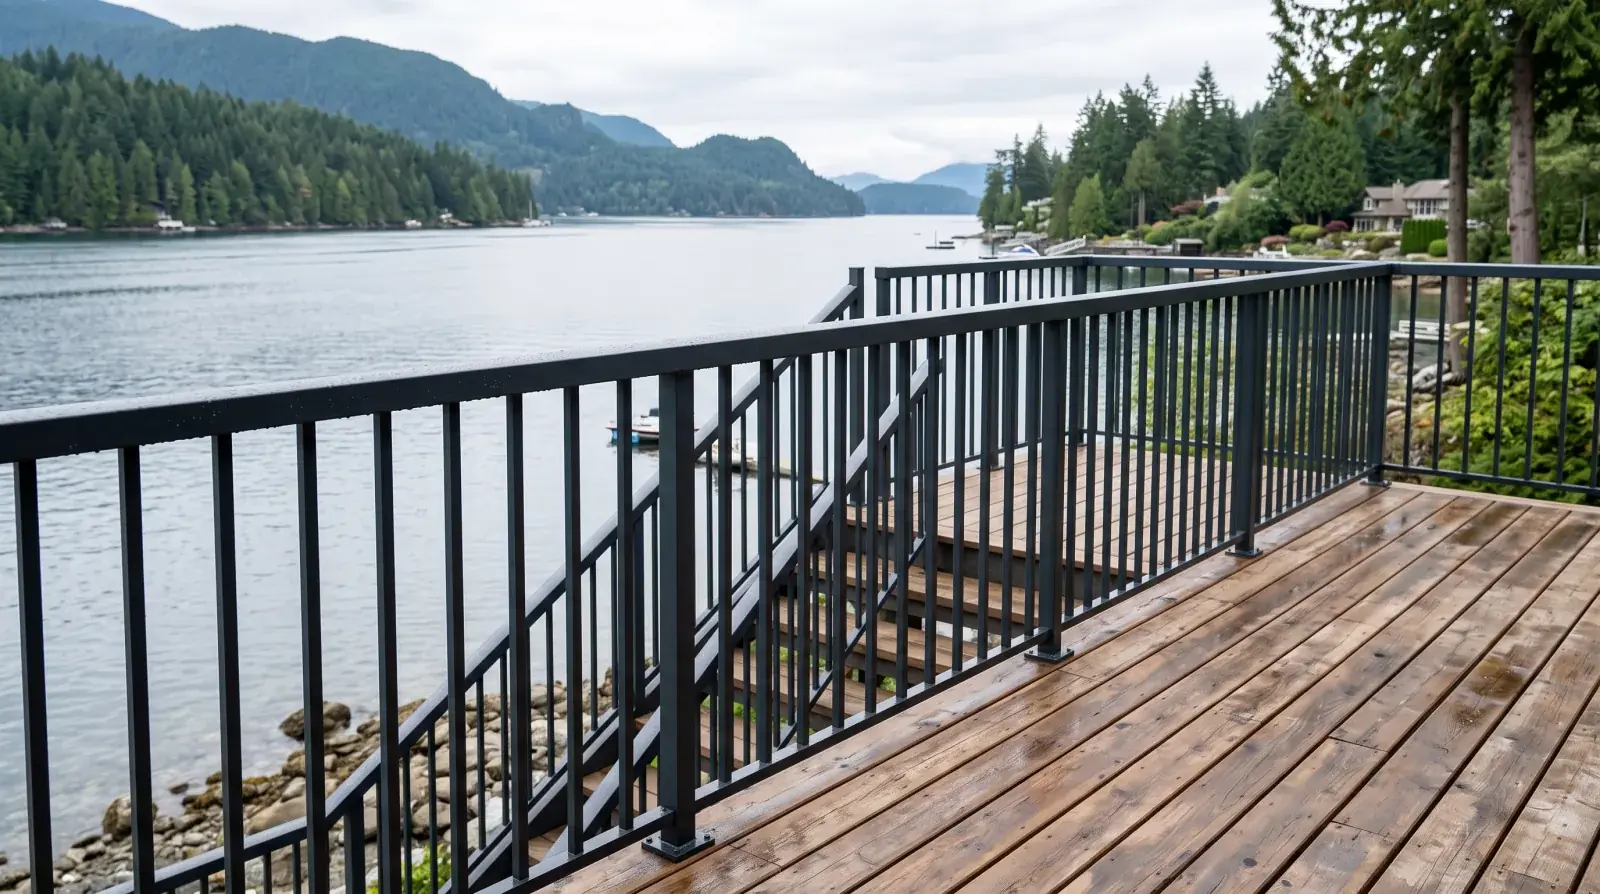
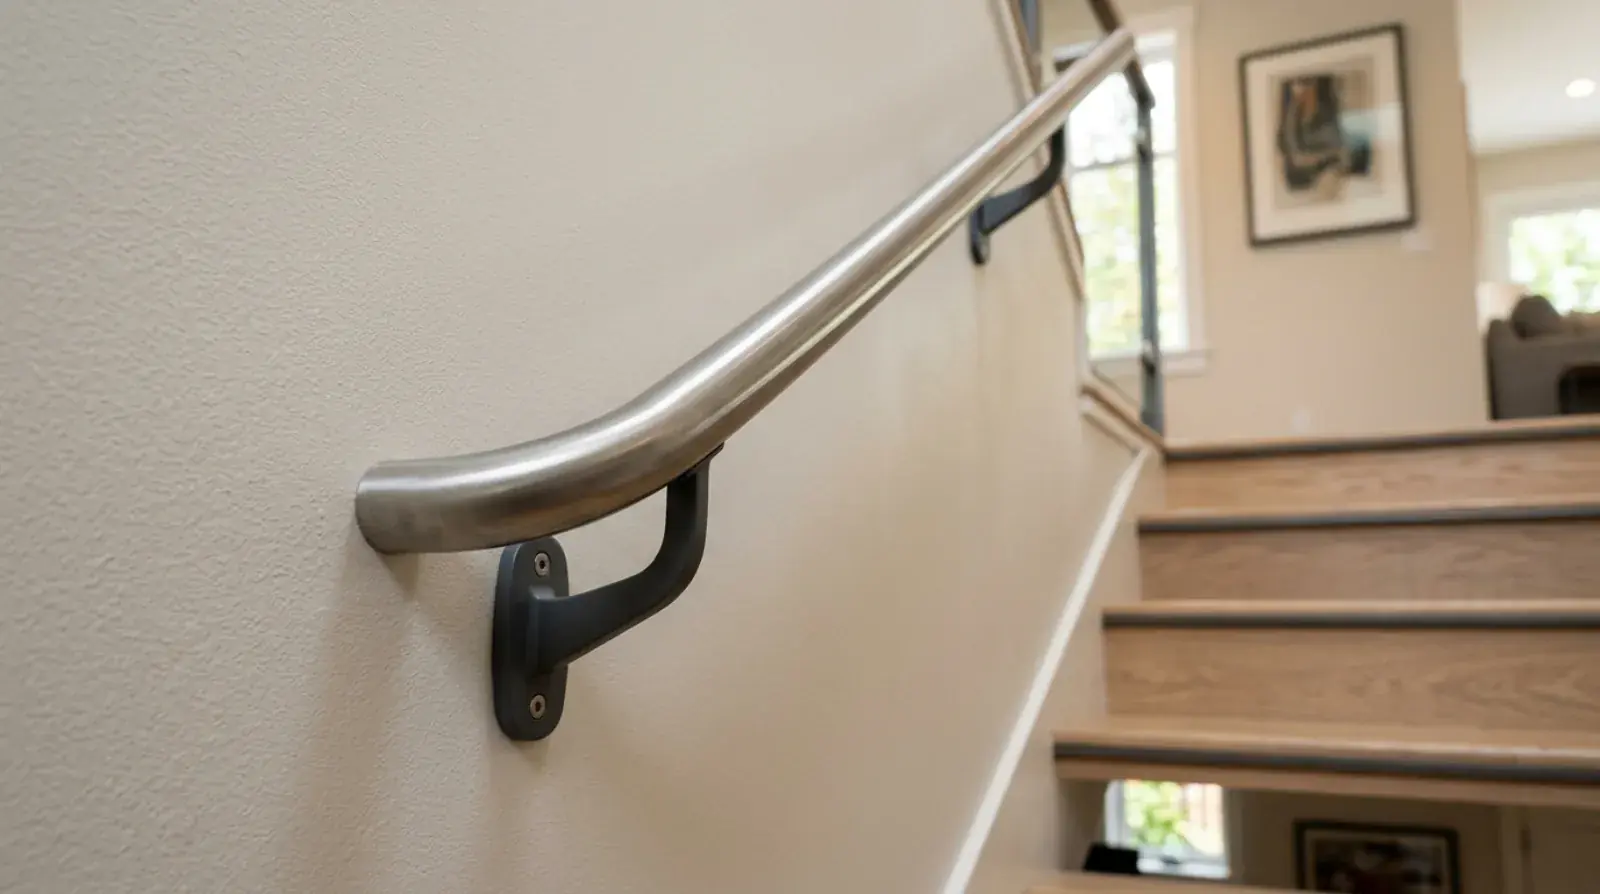
A wall-mounted handrail looks like the simplest piece of steel on the job. One straight rail, a few brackets, bolt it up. That’s exactly why it gets done wrong. The rail you can see is the easy half. The half that matters is what’s behind the drywall, and whether the thing will hold a person who slips on the third step down.
We fabricate and install these all over Vancouver, boxed stairwells in row houses, narrow flights in laneway homes, ramps at suite entries, second rails added for an aging parent. The steel is straightforward. The code requirements and the anchoring are where it pays to get it right before anything is cut.
When a wall-mounted rail is the right call
A freestanding railing assembly needs floor space and a guard. A lot of Vancouver stairs don’t have either to spare. When one side of the stair runs tight against a solid wall, the rail goes on the wall, there’s nowhere else for it. In a narrow flight where a full guard-and-rail assembly would eat the width you need to actually walk the stair, a slim wall-mounted rail keeps the path clear.
Ramps almost always use wall-mounted or post-mounted rails on both sides. And accessibility is a growing reason: a stair that already has a guard with a graspable top on the open side often needs a second rail on the wall side so there’s something to hold from either direction. We see that request a lot now, especially when a family is keeping a parent in the home and wants both sides of the stair covered.
Height, measured to the rail and not the bracket
The height rule is the part most people already know. On a stair, the BC Building Code puts the top of the handrail between 865 mm and 1070 mm measured vertically from the nosing of the treads. For a single-family home in East Vancouver or a townhouse in New Westminster, we aim near the lower end of that band so the rail meets the hand naturally on the way up.
The catch is that the height is measured to the top of the rail, not the bracket. So the bracket offset and the rail diameter both feed into where the bracket has to land on the wall. Get that backwards and the rail sits high or low even though the bracket went in level. We work it out on the shop drawing so the installer marks one line and the rail lands right.
Graspability and clearance off the wall
Graspability is the same rule whether the rail is freestanding or on a wall. The profile has to be something a hand can close around. A round steel tube in the range of roughly 30 to 43 mm outside diameter does it cleanly, our default is about 38 mm (1.5 in) round. A flat bar set on its wide face does not, no matter how good it looks against the wall. That’s covered in more detail in our steel handrail graspability guide, and it’s worth reading before you spec a profile.
Clearance is the part specific to wall mounting. The graspable rail needs clear space behind it so your fingers wrap fully without scraping the wall. The common detail is a minimum 50 mm gap between the back of the rail and the wall surface. Our standoff brackets are sized to hold that gap along the whole run. On a rough or abrasive wall finish, board-formed concrete, exposed brick in an older Mount Pleasant building, we open the gap up a bit more so a hand sliding the rail doesn’t catch.
The part nobody sees: solid backing
Here’s where wall-mounted rails quietly fail, and it has nothing to do with how the rail looks. A handrail has to take a real lateral load. Someone stumbling, someone heavy catching themselves on the way down, the rail and its anchors have to absorb that. A bracket screwed into drywall alone will pull out the day it’s actually needed.
So the bracket has to fasten into something solid. In a framed wall, that means studs or dedicated wood blocking sized for the load. In concrete or block, it means anchors rated for the substrate. On a new build this is easy: we tell the framer where the rail lands and they drop blocking into the wall before the drywall goes up, so the brackets hit solid wood at every point along the run. That’s the cheapest time to solve it, and it’s free if it’s on the drawing.
The retrofit is the hard case, and most of our wall-rail work in Vancouver is retrofit. The wall is already closed. The studs sit at 400 mm centres and almost never line up with where the rail wants its brackets. We locate the framing, and where the spacing doesn’t work we either open the wall to add backing or use anchors rated to carry the load in the actual substrate we find. What we don’t do is fudge it with a longer screw and hope. The rail is only as strong as what the bracket bites into, and that’s not a thing you compromise on a stair.
Continuity and extensions at the ends
A handrail has to be continuous. It shouldn’t stop at a landing and restart on the next flight if a person would have to let go and re-grab. On a switchback stair in a Burnaby or Coquitlam home, that means the steel turns the corner, mitred or curved, and carries through as one piece. We lay out the full run including the landing return and weld the transitions, then grind and finish so the joints disappear. A person holds the rail from the bottom step to the top without ever breaking grip, which is the whole point.
The ends matter too. On many stairs and on ramps, the rail is meant to extend horizontally past the top and bottom of the run so there’s something to hold before you start and after you finish. The exact extension depends on the application, so confirm it with your building department or your fabricator while the rail is still on paper. And the end shouldn’t finish in an open horizontal projection that can snag a sleeve or a bag strap, returning it back to the wall removes that hazard, and inspectors look for it.
Finishes: dry rail versus wet rail
Interior rails stay dry, so the finish is about looks and durability. We powder-coat matte black or clear-coat raw steel depending on the interior. Exterior rails live in Vancouver rain, and on the North Shore and the coast they get salt on top of it. Those get hot-dip galvanizing or a marine-appropriate coating, because the weather will find any gap in the protection and start at the bracket-to-wall joint where water sits. The graspability and load rules don’t change outdoors, only the corrosion protection does.
One detail that bites people on exterior installs: the fasteners and brackets have to match the rail’s corrosion protection. A galvanized rail on plain steel brackets, or stainless brackets bolted with the wrong screws, sets up galvanic corrosion that eats the connection from the inside. We spec the whole assembly, rail, bracket, fastener, to survive the same exposure.
Where this fits in the build
A wall-mounted handrail decision should happen at the same time as the stair itself, not after the steel is in and the walls are painted. The profile, the bracket offset, the backing locations, the landing continuity, and the end extensions all belong on the shop drawings together. That’s also true on the bigger picture: when we detail a custom steel stair for a Metro Vancouver project, the wall rail is drawn alongside the stringer and the guard, and the backing is coordinated with the framer before drywall closes the wall. If you want the full picture of what the code asks of railings and guards generally, our BC Building Code railing requirements guide lays it out.
If you’re planning a stair or ramp, or you’ve got a rail that flexes when you lean on it and you want it anchored properly, the time to fix it is before the wall is closed, or with the wall opened where it has to be. Request a quote and we’ll measure the run, find the backing, and detail a wall-mounted rail that passes the hand test and holds a real load.