A client called our Burnaby shop last month asking for “a ballpark on a driveway gate.” We asked which kind, swing or slide, manual or automated, standard powder coat or duplex finish, and whether the electrical was already run to the gate location. The answer to every question was “I don’t know yet.” That’s normal. Most homeowners start with a number in their head from a Google search and then discover that the gate itself is only about 40% of the total project cost.
This post doesn’t quote prices, every Metro Vancouver driveway is different, and honest pricing comes from a site visit. What this post does is lay out every factor that moves the number up or down, so you know what decisions you’re making and what to ask about when you get a quote. If you’ve already decided between swing and slide, our swing vs. slide comparison covers that decision in detail.
The seven line items on a driveway gate project
Every custom driveway gate project in Metro Vancouver breaks down into roughly the same seven cost buckets. They don’t all apply to every project, a manual gate skips the operator and electrical, but this is the anatomy of the full scope.
1. Gate fabrication
The steel itself, material, cutting, welding, grinding, and assembly in the shop. Fabrication cost scales with:
Gate size. A single 4 ft pedestrian gate uses a fraction of the material in a double 14 ft driveway gate. Wider openings also mean longer pickets, longer top and bottom rails, and more welding.
Design complexity. A simple flat-bar picket gate takes a fraction of the shop time of a gate with scrollwork, forged elements, or curved top rails. Every decorative element is hand-fit and hand-welded, design complexity compounds quickly.
Material gauge. Standard residential gates use 1.5” square tube frames with 3/4” pickets, solid, durable, and cost-effective. Heavy-duty estate gates step up to 2” frames with 1” pickets or flat bar, which adds material weight and welding time.
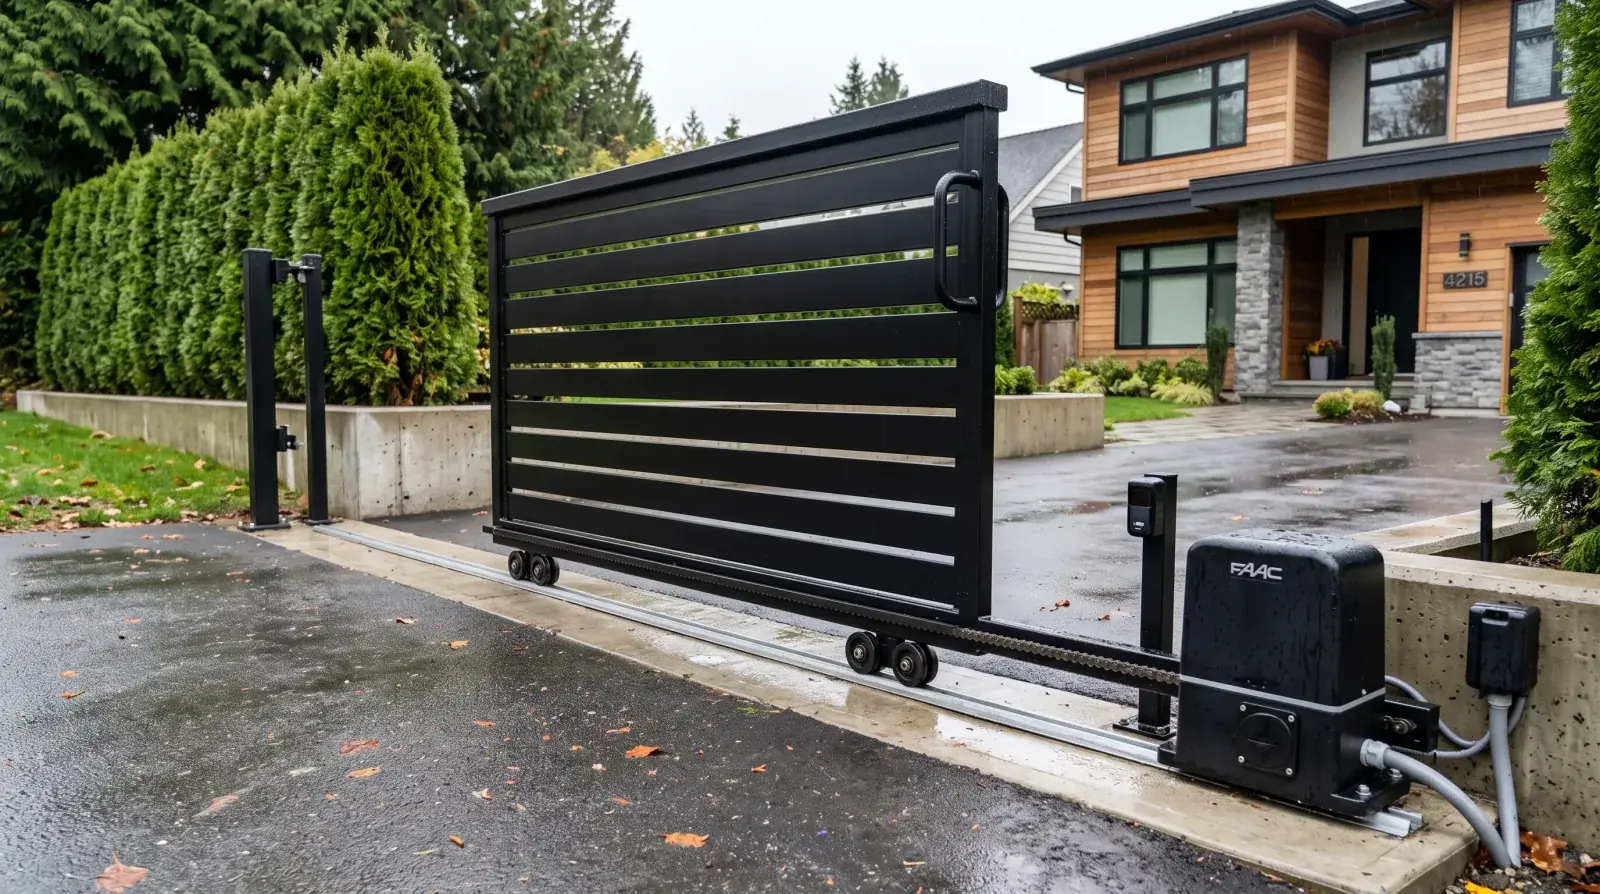
Swing gates are less expensive to fabricate than slide gates for a given opening width. A cantilever slide gate needs extra length for the counterweight section (typically 40 to 50% beyond the opening width) and heavier track rollers, both of which add material and shop time.
2. Finishing
The finish is what keeps the gate from rusting in Metro Vancouver’s 1,200 mm of annual rainfall. Three realistic options:
Standard powder coat, a single layer of electrostatically applied powder baked at 400°F. Works for most sheltered residential locations in Burnaby and Coquitlam.
Premium powder coat, a zinc-rich primer base coat followed by the colour topcoat. Better corrosion resistance. Worth the upgrade on any gate that faces weather directly.
Duplex system, hot-dip galvanizing first, then powder coat over the galvanized surface. The gold standard for coastal or exposed sites. We recommend this for every West Vancouver, North Vancouver, and waterfront project, salt air off the water eats standard powder coat in a fraction of the time it lasts inland.
The finish should match where the gate sits. A gate tucked under a carport overhang in New Westminster doesn’t need a duplex system. A gate on a fully exposed Point Grey bluff absolutely does.
3. Posts and footings
This is the line item that surprises people. The gate might be beautiful in the shop, but it’s only as solid as what it hangs on.
Standard residential footings are typically two sonotubes, 400 to 600 mm diameter, poured 1.2 m deep with rebar cages, and either a steel post set in the wet concrete or a base plate anchored after cure. This works for most Burnaby, Vancouver, and Coquitlam sites with stable soil.
Deep or oversized footings are needed for North Vancouver hillside sites, Squamish properties with wind exposure, or any location with poor drainage or clay soil. Deeper footings (1.5 to 2 m) and sometimes wider diameters are required to resist lateral loads. If you’re on a steep lot, the excavation alone gets more expensive because of access constraints.
Masonry or stone pillars, if you want brick, stone, or concrete block pillars flanking the gate, add a separate masonry trade to the project. The coordination between the mason and the gate installer is one of the trickiest parts of the job. The steel post gets embedded in the pillar during construction, so the timing has to be right.
4. Gate operator and automation
If you want the gate to open and close by remote, keypad, or phone, and nearly every client does, automation is the fourth major cost block.
| Operator type | Best for |
|---|---|
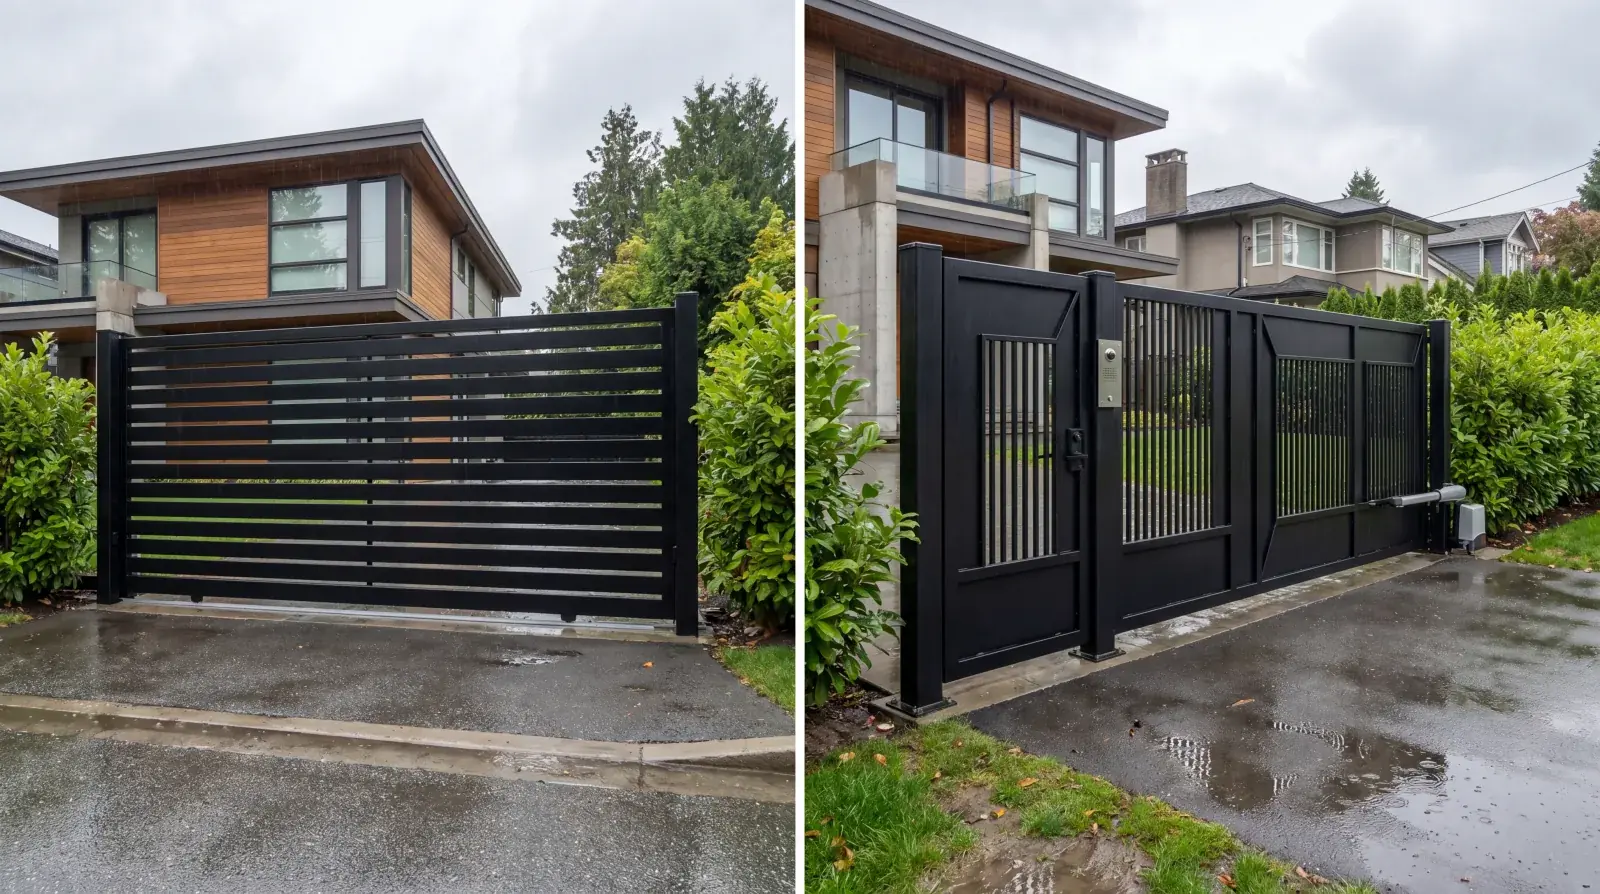
| Linear arm (ram), swing | Most residential swing gates |
| Articulated arm, swing | Gates on pillars with limited post space |
| Underground, swing | High-end installs where the operator must be invisible |
| Chain-drive, slide | Standard cantilever slide gates |
| Direct-drive, slide | Heavy or high-cycle commercial slide gates |
An automation package typically includes the operator unit, mounting hardware, photo eyes, safety edges, a control board, and one set of remotes or a keypad. What it doesn’t include is the electrical feed, that’s its own line item.
Smart access add-ons stack on top of the base automation:
- Cellular entry module (app-based control)
- Video intercom with gate release
- Camera integration (IP camera at gate)
- License plate recognition
- Full smart home integration (Control4, Savant)
Each add-on adds scope, parts, and commissioning time.
5. Electrical
Every automated gate needs a dedicated electrical circuit from the house panel to the operator location. This is almost always a separate trade, a licensed electrician, not the gate fabricator.
The cost depends almost entirely on distance. A gate 30 ft from the house panel needs a short run of conduit and wire. A gate at the end of a 200 ft driveway in the British Properties needs a long trench, heavier wire gauge to manage voltage drop, and possibly a sub-panel at the gate. The electrical permit through Technical Safety BC is mandatory for any hardwired gate operator in Metro Vancouver.
6. Permits and engineering
Permit requirements vary by municipality.
City of Vancouver: Building permit required for gates over 2 m (6.5 ft) or any gate with automation. Electrical permit required for hardwired operators.
Burnaby: Building permit required for fences and gates over 1.8 m (6 ft). Electrical permit for automated gates.
North Vancouver District/City: Similar to Burnaby, 1.8 m trigger height. Setback requirements from the property line vary by zone.
West Vancouver: The most stringent permit process in Metro Vancouver for residential gates. Design review may be required in heritage or character areas.
Engineering is only required for oversized gates (typically over 16 ft span), gates on retaining walls, or where the building inspector requests it. A sealed drawing from a P.Eng. gets priced by the engineer directly.
7. Site work and installation
This covers everything that happens on site: excavation for footings, concrete pour, post setting, gate hanging, operator mounting, and final adjustment. For a straightforward double swing gate on flat ground, two installers spend 2 to 3 days total, one day for footings (then a 7-day cure), one day for hanging and operator, and a half day for commissioning and testing.
Difficult sites add cost. A steep driveway in North Vancouver might need a retaining wall modification, or the footing excavation might hit rock. A tight lane access in East Vancouver means no boom truck for lifting heavy gates, which adds manual handling time. A Coquitlam site with overhead power lines near the gate location requires BC Hydro clearance.
What moves the price up, and what doesn’t matter as much
Things that make a driveway gate project more expensive:
- Wider openings. Every extra foot of width adds fabrication time and may require deeper footings for the longer lever arm on the hinges.
- Slide gate instead of swing. Fabrication premium plus heavier track hardware.
- Duplex finish. More upfront, but eliminates refinishing for decades.
- Long electrical runs. The trench and wire from panel to gate is pure distance cost.
- Poor soil or steep grade. Bigger footings, harder excavation, sometimes engineered solutions.
- Smart access features. Each add-on, intercom, camera, app control, stacks on.
Things that barely affect cost:
- Colour choice. A black, bronze, or grey powder coat costs the same. Custom RAL colours add a small premium on the powder coat batch.
- Picket spacing. Whether the pickets are 4” apart or 6” apart barely changes the fabrication time.
- Gate height within normal range. A 5 ft gate costs almost the same as a 6 ft gate, the extra foot adds some steel but doesn’t change the fabrication process.
How to read a driveway gate quote
When you get a quote from a fabricator, us or anyone else, look for these line items broken out separately:
- Gate fabrication and finishing, the gate panels, posts, hinges, and finish. This should be the biggest single number.
- Footings, sometimes included by the fabricator, sometimes a separate concrete contractor. Make sure someone’s responsible for it.
- Operator and automation, the operator unit, sensors, control board, remotes/keypads. Ask which brand and model.
- Electrical, dedicated circuit, conduit, wiring, and permit. Usually a separate electrician.
- Installation labour, hanging, alignment, operator mounting, commissioning. Sometimes bundled with fabrication.
- Permits, building and electrical. Some fabricators pull permits; some leave it to the homeowner.
If a quote gives you one lump number for “gate installed” without breaking out these items, ask for the breakdown. You need to know what’s included and what’s excluded to compare quotes accurately. The cheapest quote is often cheap because it’s missing footings, electrical, or permits, and those missing items show up as change orders later.
We wrote a broader guide on custom metal gates in Vancouver that covers design styles and material options if you’re still in the early planning stage. And our custom driveway gates page has project photos and a direct contact form if you’re ready to get a quote.
The “do it in phases” approach
Some homeowners, especially those renovating a recently purchased property in Richmond or Surrey, choose to phase the driveway gate project to spread the cost:
Phase 1: Manual gate and posts. Get the gate fabricated, the footings poured, and the gate hung manually. Use it as a push-open gate for a season or two. The key is to run empty conduit from the house panel to the gate location during the footing excavation, this costs very little extra and saves a second dig later.
Phase 2: Automation. Add the operator, wire the circuit through the pre-run conduit, install keypads and remotes, and commission the system. Because the conduit is already in place, the electrician’s job is just pulling wire, no trenching required.
The total cost is modestly higher than doing everything at once because of the second mobilization, but it spreads the cash outlay over a year or more. We’ve done this on dozens of projects across Metro Vancouver, a reasonable approach for budget-conscious homeowners who want the gate now and the automation later.
A note on cheap imported gates
We get asked about imported ornamental iron gates from overseas suppliers. The gates themselves are fine for what they are, typically lighter gauge (16 to 18 ga tube instead of 14 ga), adequate-but-not-pretty welds, and a single-layer powder coat.
The problem is fit. An imported gate comes in stock sizes, 10 ft, 12 ft, 14 ft. Your driveway opening is 11 ft 4 in. Now you’re cutting down a gate on site or shimming the posts, and neither option looks clean. The second problem is finish durability, a single-layer powder coat from a volume overseas producer lasts a fraction of the time of a proper two-coat finish in Metro Vancouver’s rain. A custom gate from a local CWB-certified shop fits the opening perfectly, uses heavier material, carries a local warranty, and lasts substantially longer.
Getting a quote: what to have ready
When you contact us, or any gate fabricator, for a driveway gate quote, the more information you bring, the more accurate the estimate:
- Opening width (measure between where the posts will sit, not the driveway width)
- Driveway depth from gate line to the nearest obstruction (garage door, parking pad, retaining wall)
- Grade, is the driveway flat, uphill, or downhill from the gate line?
- Electrical panel location, how far is the main panel from the gate?
- Existing infrastructure, any existing posts, footings, conduit, or an old gate being replaced?
- Design preference, even a rough sketch or a photo of a gate you like helps
- Budget range, not an exact number, but the ballpark helps us scope the right solution
Our contact page and driveway gates page both have direct inquiry forms. We quote every residential driveway gate project individually because no two driveways in Metro Vancouver are the same, and the site conditions drive the cost as much as the gate design does.
Related guides on Jeff and Simon Ironworks:
- Driveway Gates Resource Hub, pillar guide covering every aspect of a driveway gate project
- Cost guide, pricing tiers and what drives them, full configuration breakdown
- Automation & operators, what each operator type adds to the cost
- Materials & finishes, galvanized vs powder coat vs aluminum vs stainless
- Custom metal gates Vancouver, driveway, pedestrian, and garden gate styles
- Swing vs slide driveway gates, which mechanism fits your driveway
- Driveway gates Burnaby, installations and pricing notes for Burnaby properties
- Custom metal fabrication hub, gates, railings, stairs, canopies, and structural steel