The most common staircase request that lands in our Burnaby shop is not a full rebuild. It is a homeowner who walks past a wood-and-spindle banister every day and finally decides it has to go. The treads are fine, the stringers are sound, but the railing is visibly from a different decade, turned posts, fat dowels, scuffed varnish, and it ages everything around it.
Replacing only the banister, and leaving the existing stair structure alone, is a faster, smaller, less disruptive renovation than rebuilding the whole stair. It is also dramatically more impactful per dollar than almost any other interior change. This post walks through when a banister-only swap works, what it actually involves, and where the real design decisions live.
For homeowners considering a full structural rebuild, new stringers, new treads, new geometry, our Staircase renovation in Vancouver post covers that broader scope. This one is for the project where the stair is fine and only the railing is dated.
When a banister-only swap is the right answer
The check we run on a site visit before quoting a banister replacement is short and practical.
- Stringer condition. Walk up and down the stair. If there is no flex underfoot and no visible cracks at the notches where the treads meet the stringer, the structure is fine. If the stringer has split or the stair bounces, the scope opens up to a full rebuild.
- Tread fastening and condition. Pop a tread or two with a cat’s paw if there is squeaking. If the treads are sound and the squeak is glue or fastener related, refastening solves it. If the tread is cracked or the wood has rotted at the riser joint, the tread gets replaced, still inside the banister-replacement scope on most projects.
- Geometry and code. The tread depth, riser height, and headroom either meet the current code or were code-compliant when built. The banister itself will be built to current 2024 BC Building Code, minimum 900 mm guard height on interior residential stairs, picket spacing such that a 100 mm sphere cannot pass, graspable handrail profile.
- Newel post anchoring. The new posts have to anchor into something solid. Solid hardwood treads, an exposed steel stringer, or a structural floor framing member all work. Particle board or floating subfloor does not.
If those four checks come back clean, the banister-only scope is viable, and most Metro Vancouver homes built between 1970 and 2010 fall in that bucket. Older heritage homes in Vancouver’s West End and Shaughnessy and very tight 1950s post-war bungalows in Burnaby and East Vancouver sometimes need more care, older wood structures and unusual geometries take a closer look.
What gets replaced, the full anatomy
A banister replacement covers everything between the floor and the top of the stair railing.
Newel posts are the structural posts at the top, bottom, and any landings. They carry the lateral load when someone leans on the railing and have to be anchored properly. On a custom steel banister, these are typically square or rectangular tube, 1.5” × 1.5” up to 3” × 3” depending on the design, welded to a base plate and either through-bolted to the floor framing or anchored into the existing tread.
Top rail (handrail) is what your hand actually holds. The 2024 BC Code requires a graspable profile on stairs of more than three risers. Square or flat-bar top rails are the most common modern look, but if the rail also has to function as the graspable handrail on an open side without a wall, the profile has to allow for grip, typically a round-edge flat bar or an integrated round handrail mounted just below the visual top rail.
Infill is what fills the space between the top and bottom rails. Three common options: thin steel pickets (vertical bars at code-compliant spacing), tempered glass panels, or horizontal cable. Each looks different and prices differently. Pickets are the most common; glass is what most owners want when there is a view to preserve; cable is increasingly popular in modern infill homes in East Vancouver, Burnaby, and on the North Shore.
Bottom rail and shoe sits at the base of the infill. On steel-picket designs, the bottom rail welds to the inside face of the newel posts and the pickets weld to the bottom rail. On glass designs, the bottom shoe holds the glass and is either base-shoe-mounted to the tread or post-mounted between newels.
Wall-mounted handrail is the rail on the wall side of the stair, when there is one. Often a separate bracket-mounted rail with a different profile from the open-side top rail. Easy to update and usually replaced at the same time as the banister.
The design choice, pickets, glass, or cable
Three styles cover roughly 90% of our recent banister replacements across Vancouver, Burnaby, and the North Shore.
Steel pickets
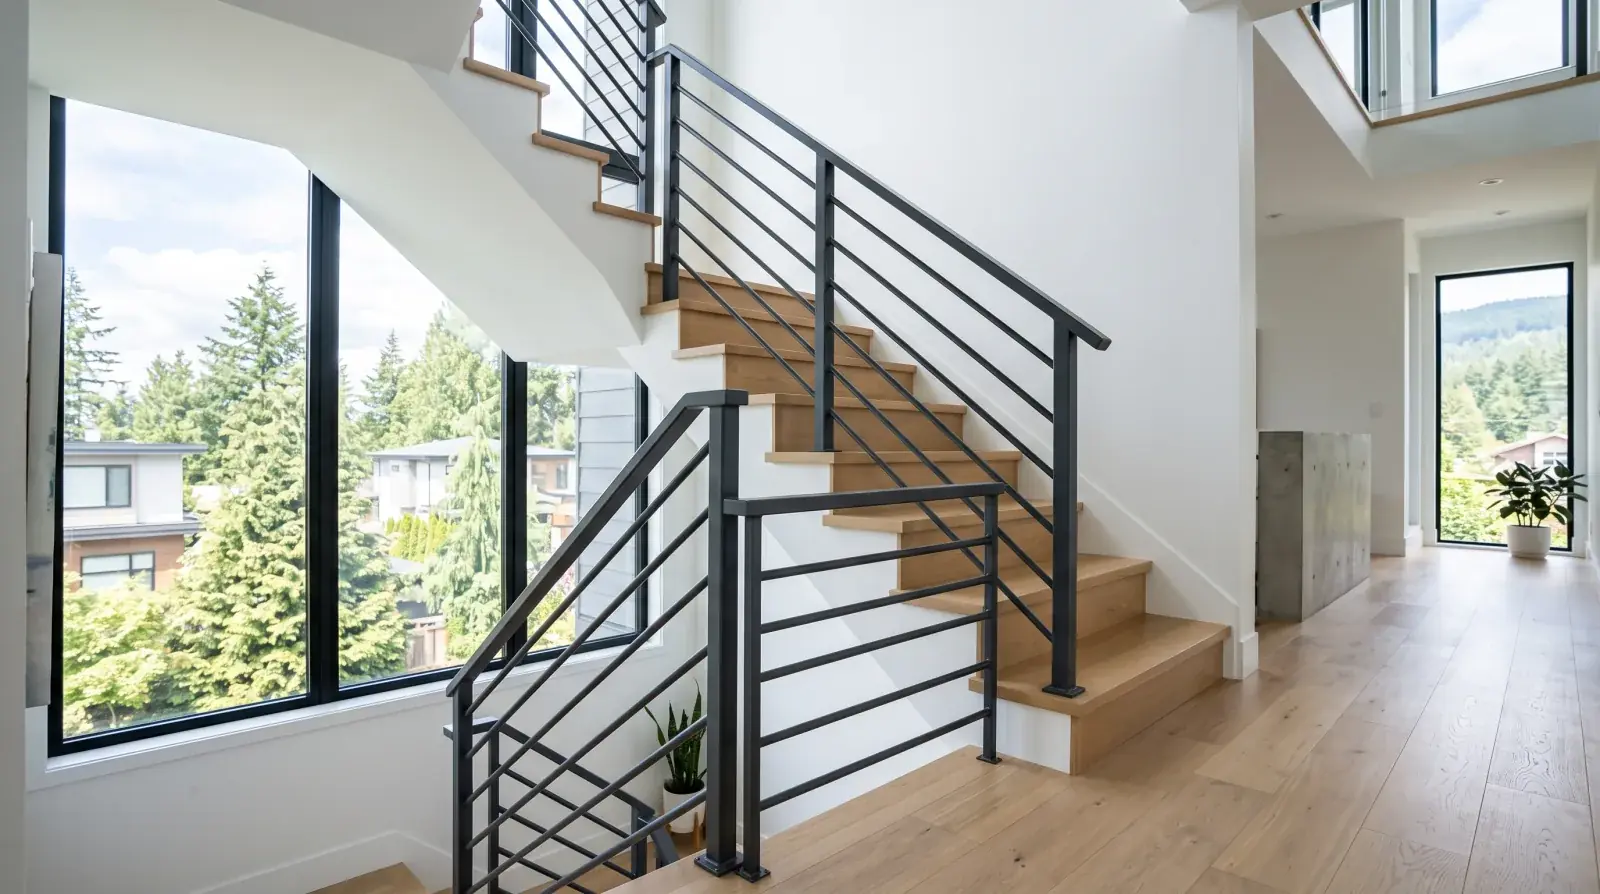
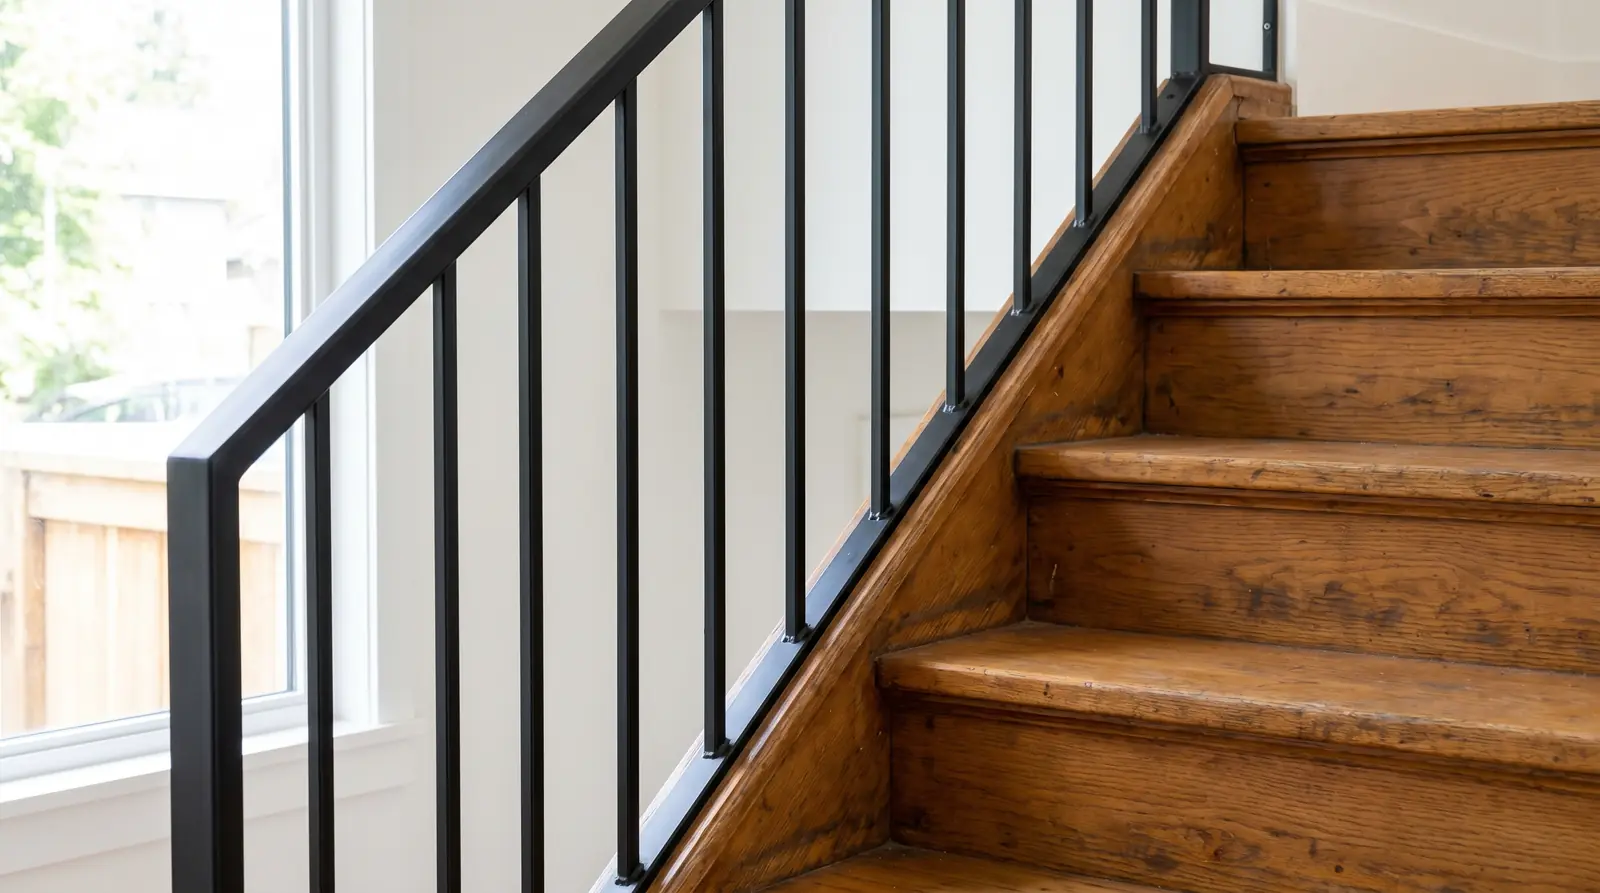
Thin vertical pickets, typically 12 mm × 12 mm square tube or 12 mm round bar, running between top and bottom rails at code-compliant spacing. Powder-coat black or blackened mild steel with a clear oil top coat is the most popular finish. Reads contemporary, fits modern and transitional homes, and is the easiest to coordinate with hardwood treads of any colour. Picket-style banisters dominate in East Vancouver, Burnaby, and Coquitlam custom builds.
Glass infill
Tempered or laminated glass panels held between steel newel posts, with a steel or stainless-steel top cap. Glass preserves the view and feels more open than any other option, which is why almost every West Vancouver, North Vancouver, and waterfront staircase we replace uses glass. The downside is fingerprints and water spotting, on a stair that gets heavy daily use, plan on cleaning the glass weekly.
Cable infill
Horizontal stainless-steel cables tensioned between steel newel posts, top to bottom. Modern, almost invisible, and very popular in contemporary West Vancouver and East Vancouver custom homes built in the last decade. Cable banisters need posts spaced closer together than picket banisters because each cable carries lateral load, typically 1,200 mm maximum spacing on a stair, sometimes less depending on the design.
The choice is partly aesthetic and partly about how the stair sits in the home. A picket banister disappears visually because the eye reads through the gaps; glass and cable both compete more with the surrounding architecture but feel more open. None of the three is wrong; the question is what the rest of the room is doing.
What the install actually looks like
A typical residential banister replacement runs 2 to 3 days on site after fabrication is complete.
Day one removes the existing banister. The old handrail, balusters, and newel posts come off. The mounting points get inspected, sometimes the old newel post mount has split the tread, in which case the tread gets repaired or replaced before the new post goes on. The crew vacuums and tapes off the work area at the end of the day so the family can use the stair overnight.
Day two installs the new newel posts and the prefabricated rail assembly. Posts get anchored either through-bolted to the framing below or epoxy-anchored into the tread. The new rail assembly, which we built in the shop as one welded unit, or in two sections for very long runs, gets lifted into place and the connection welds are completed on site. On steel-picket designs, the welds are ground and touch-up powder coated to match.
Day three handles glass install (if applicable), final fastening, and cleanup. Glass arrives separately because it cannot ship attached to the assembly. The crew sets each panel in the base shoe and seats the top cap. Final inspection, walkthrough with the homeowner, and we are done.
If the banister wraps a landing or includes a curved section, add a day. If the stair is multi-storey with continuous railing across two or three flights, plan for 4 to 5 days on site.
Common mistakes we see
Two recurring problems on banister jobs that did not go through a fabrication shop.
The first is poor anchor design. A banister has to resist a horizontal load applied at the top rail, code references vary but design loads in the 0.5 to 1.0 kN/m range are typical. If the newel posts are toe-screwed into a floating subfloor or fastened with drywall anchors, the railing flexes when someone leans on it. The fix is straightforward: anchor through into the framing, or use proper concrete anchors if the post is on a slab. But it has to be designed in from the start, not added after.
The second is finish failure on exterior banisters. Powder coat and wet paint both work on interior banisters, but on a deck or balcony in Metro Vancouver’s wet climate, anything other than hot-dip galvanizing under the top coat will start showing rust through the finish within five to ten years. For exterior banisters in Burnaby, North Vancouver, West Vancouver, or anywhere along Burrard Inlet, specify the duplex system from day one. Adding it later means stripping the existing coat first.
For a quote on a specific banister project, request a quote, every staircase has its own dimensions and anchor conditions, and pricing only makes sense after a site visit.