Walk into any newly-completed custom home in West Vancouver, Point Grey, or the Deer Lake area of Burnaby and the staircase is almost certainly a mono stringer or a cantilevered floating system. Twenty years ago, open-riser steel stairs were a signature design move. Today they are the default specification for architects working in West Coast modern residential.
This post is a fabricator’s view on why that shift happened, what the design logic actually is, and what architects and homeowners should understand about specifying these stairs well.
What architects are actually specifying
When an architect calls asking about a “mono stringer staircase,” they mean one of a small number of variations:
- Straight-run mono stringer with solid hardwood treads and glass or cable railings, the default residential spec
- L-shape mono stringer with landing, for homes where the stair changes direction
- U-shape switchback mono stringer, for compact vertical circulation
- Curved mono stringer, the centrepiece stair for double-height entries
- Mono stringer with open treads (steel plate, grating), for industrial or commercial-residential crossover
All five share the same underlying architectural logic: a single visible steel beam, treads mounted to brackets, open underside, visual lightness. The differences are geometry and material, not principle.
The comparison guide covers how mono stringer compares to other stair types architects might consider.
Why sightlines changed everything
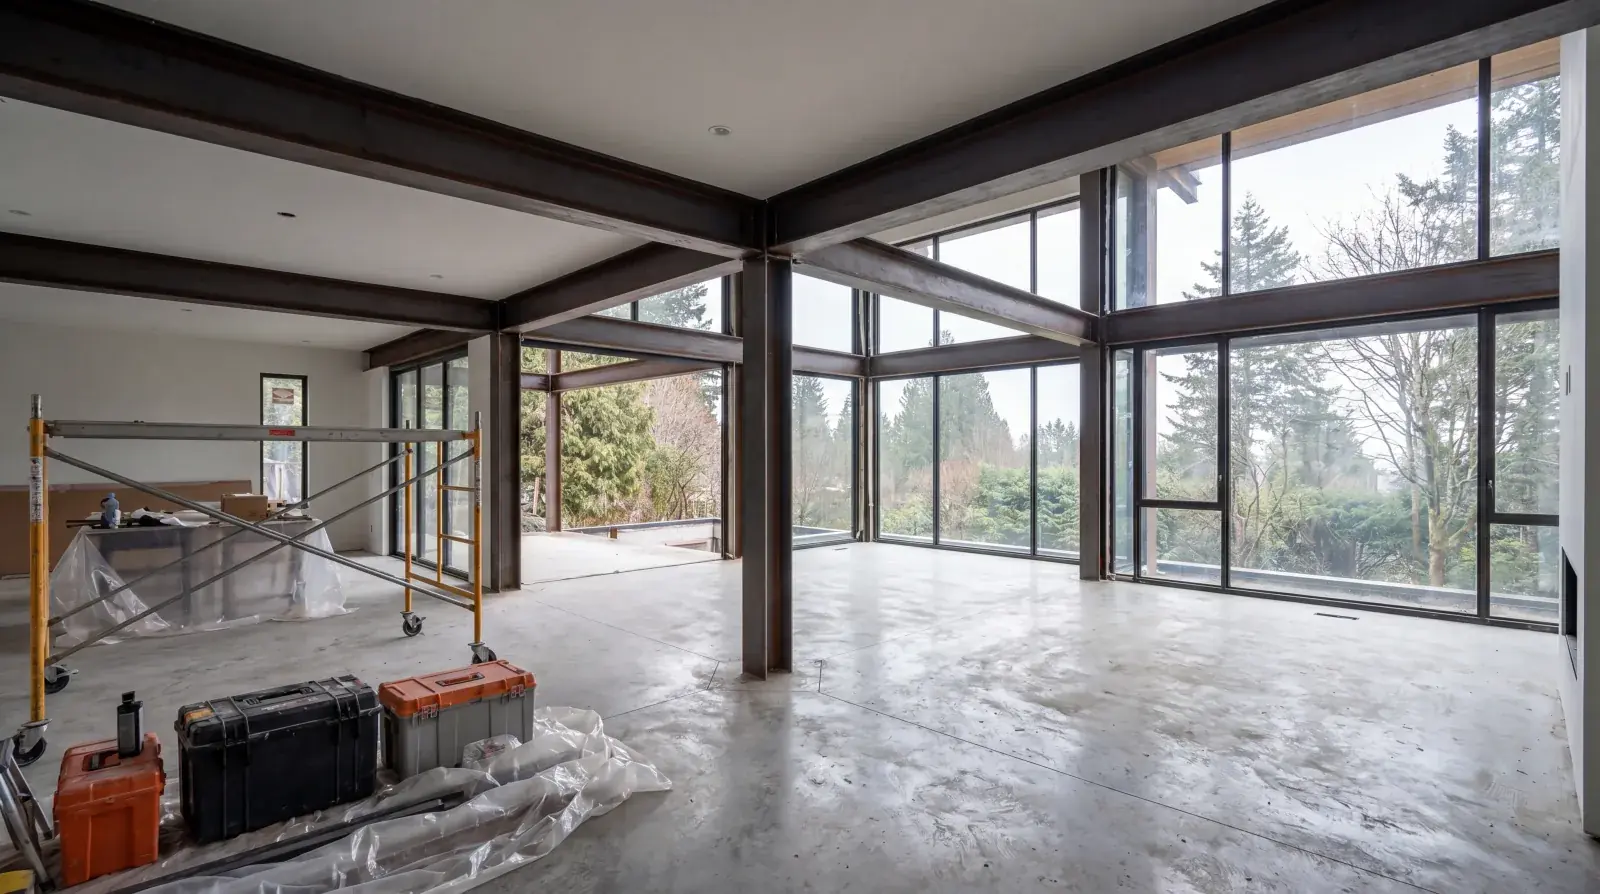
The first reason mono stringer stairs dominate new Vancouver architecture is the shift in floor plan philosophy. Open-plan living, kitchen, dining, living in one continuous space, requires that whatever divides that space vertically does so without breaking sightlines.
A conventional wood-framed stair with drywall-enclosed underside does the opposite. It creates a visual wall that blocks view from the front of the house to the back, breaks the continuity of the ceiling plane, and turns the stair into a boxy object that dominates rather than integrates.
A mono stringer stair does almost the opposite. You can see through it from any angle. The ceiling plane reads as continuous above and below. The view from the entry through the living space to the backyard stays open. The stair becomes a line element, a visible structural member, rather than a massed object.
This matters especially in Vancouver because of the regional architectural preference for connecting interior space to exterior landscape. West Coast modern architecture has always been about framing views, of water, forest, mountains. A stair that blocks those views contradicts the entire design intent. A mono stringer stair does not.
Daylight transmission
The second driver is daylight. Vancouver is a cloudy city, roughly 160 rainy days per year on average in the city core, more on the North Shore. Custom home architecture has to work harder for natural light than in a sunnier climate. Every design choice either adds or subtracts daylight.
A solid-riser framed stair subtracts daylight. Light from a clerestory or skylight positioned over the stair zone gets blocked by each riser. Light from ground-floor windows does not transmit through the stair into the space above.
A mono stringer with open treads transmits daylight vertically and horizontally. On projects where the architect has positioned a skylight directly over the stair well, the difference in perceived light at the ground floor between a solid stair and a mono stringer is substantial, often enough to eliminate the need for additional artificial lighting in the circulation zone.
We have seen architects specify skylights above mono stringer stairs explicitly to exploit this effect. The stair becomes a light delivery mechanism as well as a circulation element.
Ceiling heights have grown
Twenty years ago, 8-foot ceilings were standard in Metro Vancouver custom homes. Fifteen years ago, 9-foot became common on main floors. Today, 10-foot main floors are standard in premium custom builds, and double-height entries are expected in most projects over a certain size.
Higher ceilings change what a stair has to do visually. An 8-foot stair (with a 3-foot stair well to the floor below) is a utilitarian element. A 20-foot stair in a double-height entry is an architectural object. It is the first thing people see when they walk in, the anchor of the entry sequence.
Conventional wood-framed stairs at that scale look heavy and dated. They fill the space with solid mass. A mono stringer at the same scale reads as sculptural, a single line of structure supporting treads that seem to float. The stair becomes the visual signature of the home.
Material honesty and the West Coast ethos
West Coast modern architecture, the broad regional tradition that shapes most premium residential work in Metro Vancouver, has a particular attitude toward material expression. Structure is not hidden behind decorative finishes. Wood beams show. Concrete walls show. Steel structural members show.
Mono stringer stairs fit this ethos perfectly. The steel is not pretending to be something else. The beam is visible, the brackets are visible, the welds are visible (and ground smooth to architectural quality). The structural logic is legible. You can see how the stair works.
This matters to architects who are working in the modernist tradition. They do not want a stair that lies about its structure. A drywall-enclosed framed stair hides its structure. A mono stringer does not.
That does not mean the steel has to be raw. Most of our mono stringer stairs are powder-coated in matte black, dark bronze, or a specified architectural colour. The finish protects the steel and defines the visual character, but the structural honesty remains. You can still read exactly how the stair is put together.
Welding quality matters enormously in this architectural context. C.W.B. certified welding to CSA W47.1 - https://www.csagroup.org is the baseline requirement, both for code compliance and for architectural quality. A visible weld that is not ground and finished cleanly will ruin the look of an otherwise perfect mono stringer.
Design flexibility, geometry and proportions
The fourth reason architects specify mono stringer stairs is the flexibility of the form. Unlike a conventional framed stair, which has fixed relationships between tread depth, riser height, and carriage geometry, a mono stringer can be detailed to almost any proportion the architect wants:
Tread thickness. 40 mm looks light and modern. 60 mm looks substantial. 75 mm looks architectural. The stringer sizing adjusts to carry the load.
Tread projection. The tread can project 25 mm past the stringer centre, or 150 mm, depending on the design intent. The bracket geometry changes to match.
Riser-to-tread relationship. The stair can read as pure horizontal treads with no vertical element, or as treads with a vertical back plate that acts as a visual riser without being structural.
Stringer profile. The visible face of the stringer can be a clean vertical plane (standard HSS), a sloped plane (tapered plate), or a visible flange (I-beam). Each reads differently from the side.
Connection detail at the floor. The stringer can terminate at a small base plate (minimal, modern), land on a continuous steel plate at the floor (more structural-looking), or disappear into a recessed floor channel (most minimal).
Each of these is a deliberate design choice. Good architects think through all of them. Lazy specifications pick a default and move on, and the result looks generic.
See the engineering guide for how these design choices affect structural load paths and fabrication requirements.
The engineering coordination, where projects succeed or fail
The main challenge of specifying a mono stringer well is the coordination between the architect, the structural engineer, and the steel fabricator. On projects where all three are involved from schematic design, the result is clean. On projects where the steel fabricator comes in during construction documents or construction, problems emerge.
Common coordination failures:
Undersized stringer. The structural engineer sizes the beam without knowing the full tread loading (weight of hardwood, thickness, edge detail). We show up to fabricate and realize the spec’d beam is marginal. Either we push back and ask for a re-size, or we build a stair that will have perceptible flex. A competent fabricator pushes back.
Unrealistic connection details. The architect shows a stringer landing on a thin plate with no visible fasteners. The engineer requires four bolts in a specific pattern. The fabricator has to find a way to make both visions work without compromising either. This requires collaboration, not a game of telephone through drawings.
Framing that does not support the design. The reinforcement for a mono stringer top connection often requires a specific header or beam pocket. If the framer frames the wall without knowing about this requirement, we have to modify the connection or modify the framing. Both cost money and delay the project.
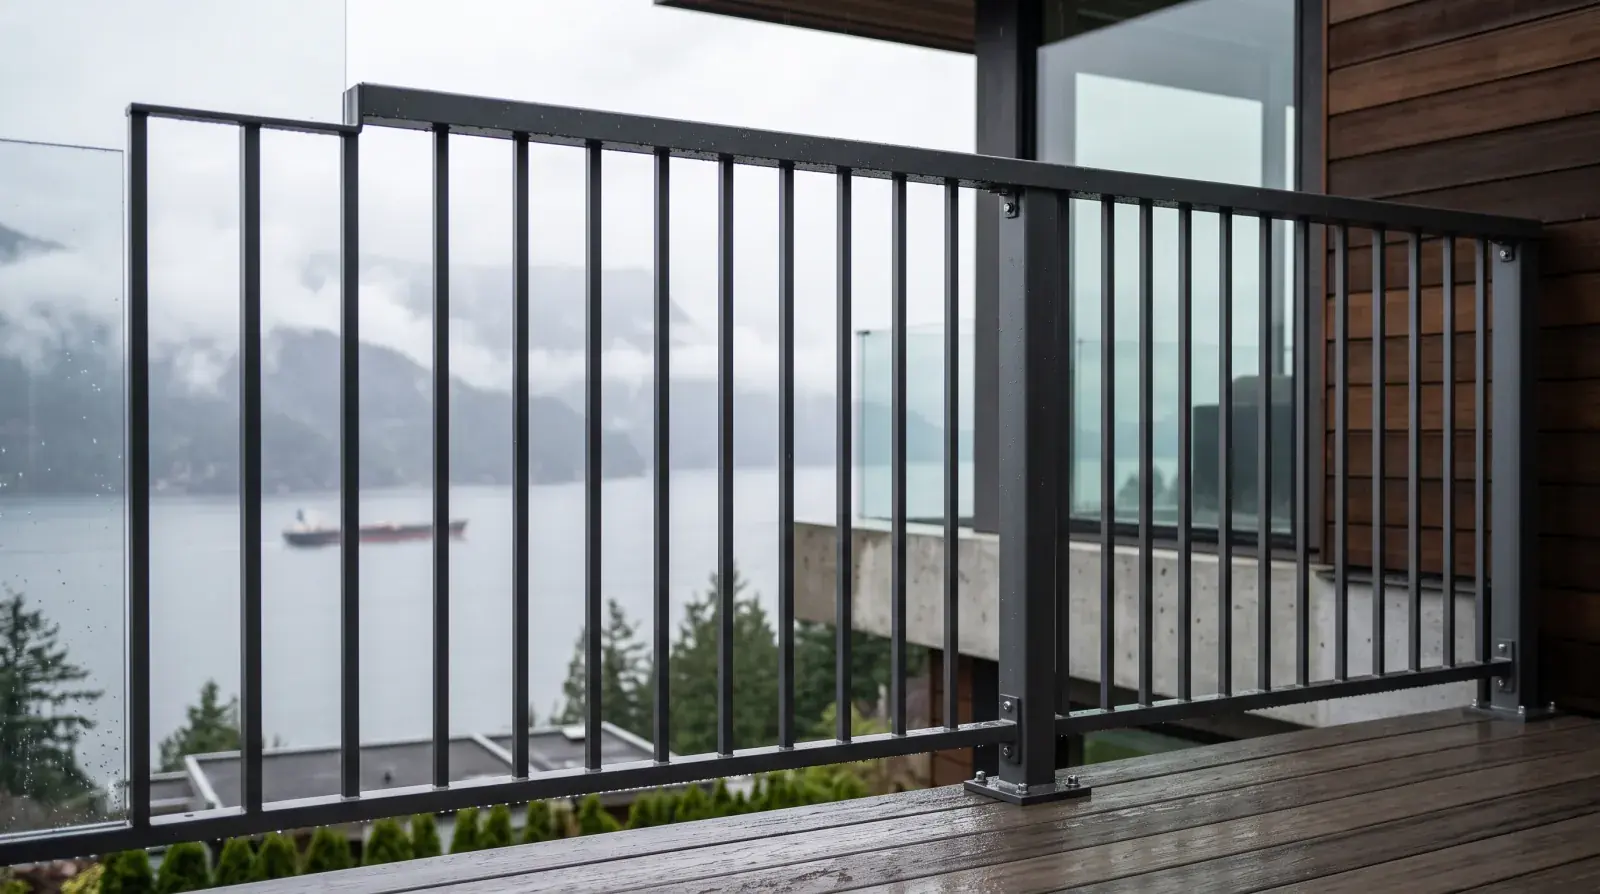
Railing details that do not meet code. An architect shows a beautiful minimalist horizontal bar railing that will not pass a Vancouver building inspection because of the 100 mm sphere rule or the climbability restriction between 100 and 900 mm above the nosing line. BC Building Code - https://www2.gov.bc.ca/gov/content/industry/construction-industry/building-codes-standards/bc-codes. The fix is either a glass panel behind the bars, tighter bar spacing, or a full redesign.
The way to avoid all of these is to engage the fabricator early and have a single conversation that includes the architect, structural engineer, and fabricator before construction documents are finalized. We do this regularly for Vancouver-area architects, a 90-minute meeting at schematic design saves weeks of rework later.
Budget and scope tier implications
Architects often underestimate how much a premium mono stringer costs relative to a conventional stair. The difference is meaningful. For a residential straight-run stair, the mono stringer premium over a conventional framed stair can be 3x or more depending on tread material, railing, and finish.
Scope tiers:
- Baseline: straight-run, hardwood treads, cable railing, standard powder coat
- Mid-range: L-shape or high-tread-count straight run, premium hardwood or glass treads, glass railing
- Premium: U-shape with landing, specialty tread materials, specialty finish
- Top-tier: curved, multi-storey, high-complexity projects
Where the budget is not available for a mono stringer, an architect sometimes specifies a “mono stringer look” with a conventional framed stair hidden behind open-riser cladding. This is a mistake. The detail never reads as authentic, the structural inefficiency is higher, and the final cost is often close to the real mono stringer anyway. Better to descope somewhere else and keep the real steel.
What “well-specified” actually looks like
A well-specified mono stringer staircase drawing set includes:
- Architectural plans showing stair location, dimensions, and landing conditions
- Architectural sections showing tread thickness, tread depth, riser height, guard height
- Architectural elevations showing stringer profile and railing layout
- Railing detail drawings showing post spacing, infill, and handrail
- Structural engineer’s drawings sizing the stringer, detailing connections, and specifying reinforcement
- Fabricator’s shop drawings showing every piece of steel, weld specs, tread bracket geometry, finish spec
- Coordinated schedule showing fabrication, finishing, and installation timing against overall construction
A poorly specified project has items 1 to 3 only, and assumes the engineer and fabricator will figure out the rest. They do, but at a cost of schedule and budget.
Starting a conversation
If you are an architect specifying your first mono stringer, or a homeowner working with an architect who has not specified one before, the best time to engage us is at schematic design. Not construction documents. Not construction. Schematic.
A 90-minute conversation at that stage covers:
- Structural feasibility given the house design
- Realistic scope tier based on configuration and materials
- Coordination requirements with the structural engineer
- Long lead items that need to be in the framing package
- Finish options and their visual differences
- Project schedule and fabrication timeline
Request a quote or contact our Burnaby shop to set up that conversation for your project. We work with architects across Metro Vancouver and have established collaboration patterns that deliver clean projects on schedule.