Most people who call us about a failing gate think the gate is the problem. The leaf is dragging, the latch won’t catch, the whole thing feels loose. Nine times out of ten the steelwork is fine. What failed is the hardware, the hinges, the latch, the closer, and almost always because it was sized wrong or specced cheap to save a few dollars at the start. The gate is the part you see. The hardware is the part that does the work, every single time the gate moves.
This is the side of gate building that doesn’t show up in a rendering. A beautiful steel leaf hung on the wrong hinges will sag and bind within a couple of seasons, and the failure shows up in the most visible place there is: the gap at the latch side. So before you spec the picket pattern or the top rail profile, it’s worth understanding what’s actually holding the gate up and pulling it shut.
Why hardware is where cheap gates fail
A gate is a lever. The hinges sit at one edge, and the entire weight of the leaf hangs off that edge, trying to pull down at the top and push out at the bottom. The further the latch side reaches from the hinges, the more leverage that weight has. On a wide driveway leaf, the load on the top hinge is far higher than the gate’s raw weight suggests.
Cheap gates fail because someone matched the hardware to the gate’s appearance instead of its physics. A pair of small hinges looks tidy on a 600-pound steel leaf, right up until the leaf settles, the latch side drops, and the bottom corner starts scraping the driveway. From there it only gets worse, because a dragging gate puts even more strain on the remaining hardware. The fix is rarely a quick adjustment, it usually means re-hanging the gate on properly sized hinges and reinforcing whatever it’s mounted to.
Hinge types for heavy steel gates
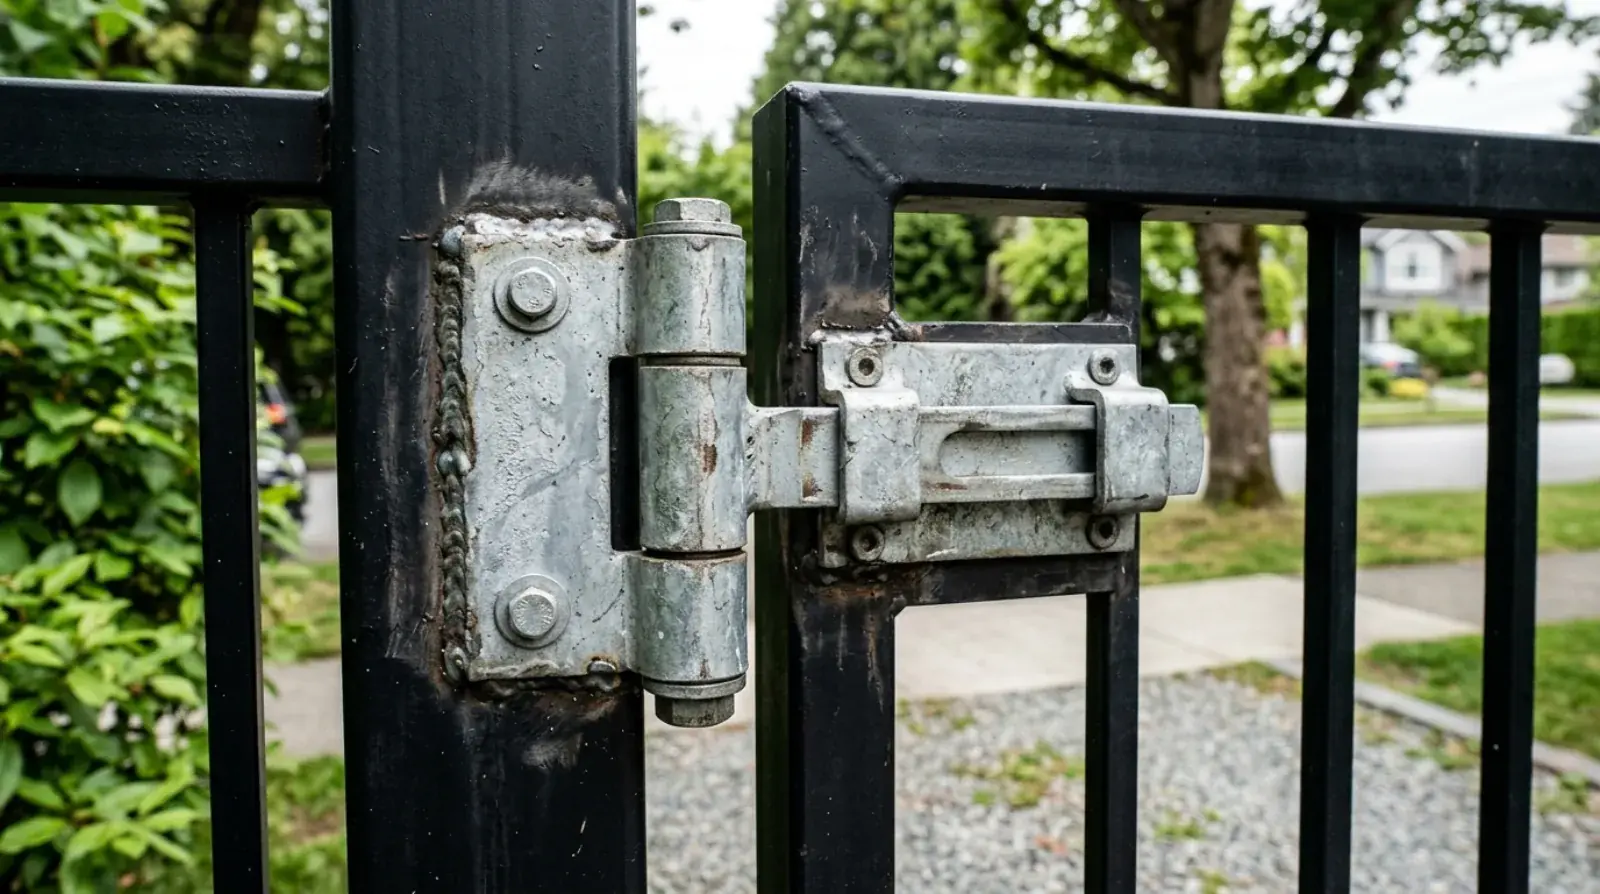
For heavy custom gates, weld-on barrel hinges are the workhorse. They’re a simple, strong design: a steel barrel and pin that carries vertical load through the pin, with one half welded to the gate frame and the other to the post. There’s no bolted connection to work loose over thousands of cycles. We use barrel hinges with a greasable pin on most driveway gates so the bearing surface can be re-lubricated rather than wearing out and seizing.
Adjustable hinges are the other common type. These bolt on rather than weld on, and they let you fine-tune the gate’s position after it’s hung, raise or lower a corner, pull the leaf in or out, square up the latch gap. On a gate that may need correction after the posts settle, or on masonry posts where welding isn’t an option, adjustable hinges earn their place. The tradeoff is that bolted connections need to be checked and re-snugged over time.
The choice between them comes down to the gate, the post material, and whether you want the ability to tweak alignment later. Steel posts and a leaf you want hung once and forgotten? Weld-on barrels. Masonry posts or a gate that might shift? Adjustable.
Sizing hinges to weight and cycle count
This is the single most important decision in the whole assembly, and the one most often gotten wrong. A hinge has a load rating, and that rating has to exceed the actual static load the gate puts on it, not the gate’s total weight, but the leveraged load concentrated at the top hinge.
Just as important is cycle count: how many times a day the gate opens and closes. A side-yard gate used twice a day and a commercial gate cycled dozens of times daily are completely different problems, even at the same weight. High-cycle gates need sealed or greasable bearing surfaces, because a plain pin running dry will wear out and develop play within a few years. We size every hinge to the calculated load with a safety margin on top, then match the cycle life to how the gate will actually be used.
The post matters as much as the hinge. A correctly sized hinge welded to a post that flexes will still let the gate sag, because the post is doing the bending instead of the gate. For heavy leaves we use steel posts with internal bracing or proper concrete footings, and on masonry we make sure the anchor can carry the moment the gate puts into it. If you want to understand how this connects to the overall build, our guide on custom driveway gates and swing vs. slide systems walks through how the gate type drives the hardware demands.
Latches, locks, and access control
The latch is what holds the gate closed, and it does its job thousands of times. On any gate you want to stay shut, a self-latching mechanism is worth specifying, it engages automatically when the gate swings to, so the gate can’t be left ajar by someone in a hurry. A manual slide bolt relies on a person remembering to throw it, and people forget.
Locking and access control layer onto the latch. A simple keyed lock works for a pedestrian gate. Driveway gates often want a keypad, a remote, or full access-control integration tied to an intercom or a building system. The hardware has to be chosen so the latch, the lock, and any electric strike or magnetic lock all work together without fighting each other. On automated gates we coordinate the latching hardware with the operator so the gate seats and locks in the right sequence, the gate fabrication is our scope, and we work with licensed electricians on the powered side.
Self-closing and self-latching safety gates
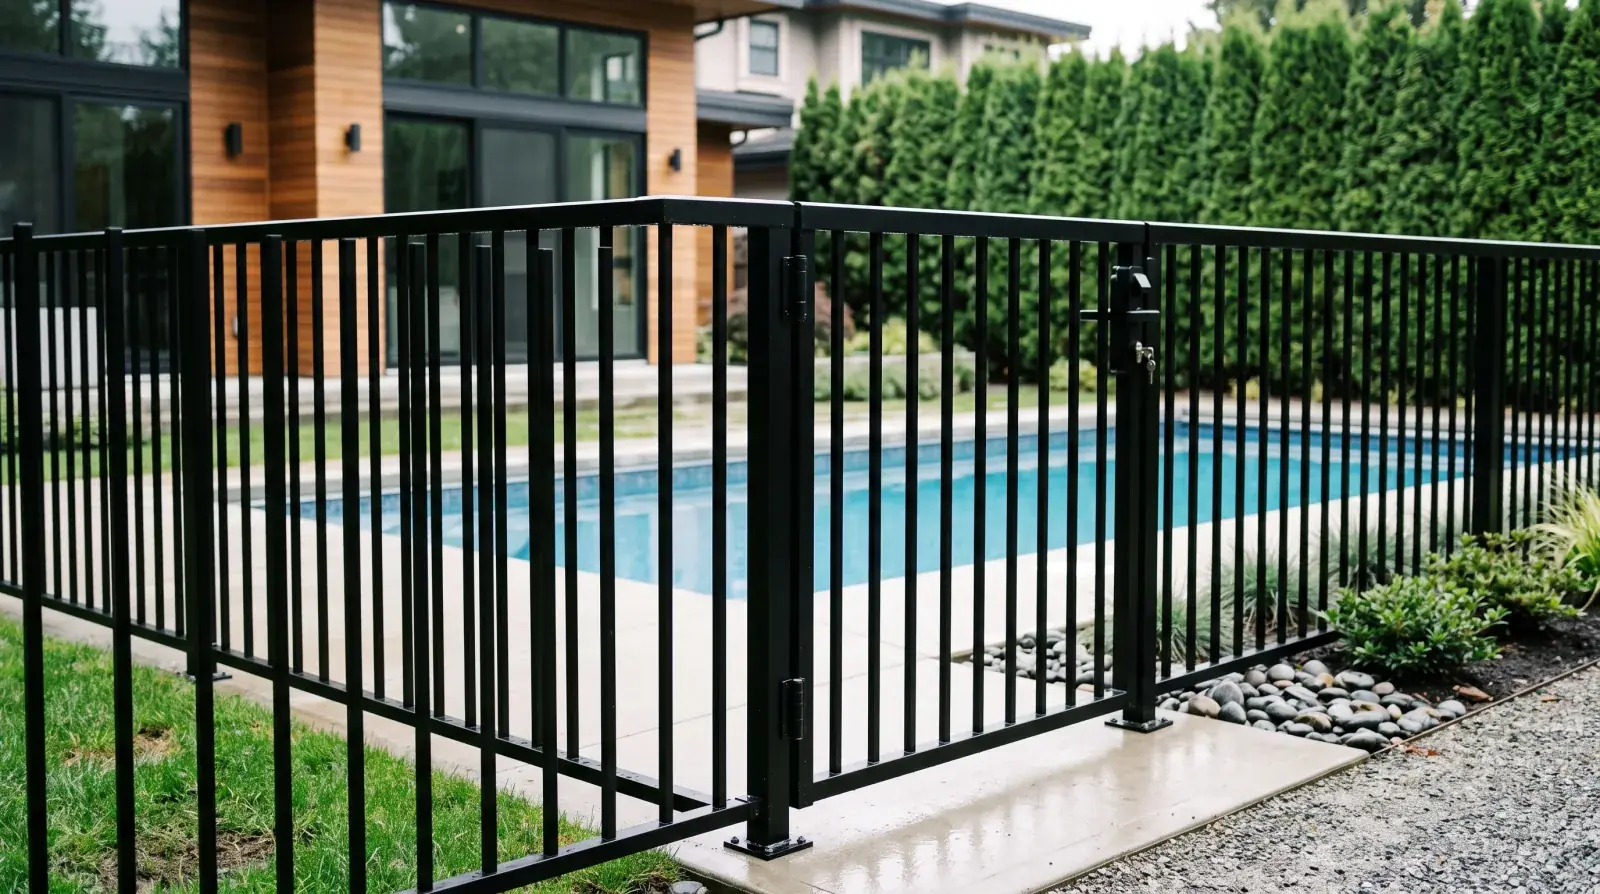
Where a gate encloses a swimming pool or protects young children, self-closing and self-latching hardware isn’t a preference, it’s a safety requirement. The gate has to swing shut and latch on its own, with no reliance on anyone to close it, and the latch release has to sit out of a small child’s reach. This is the one area where we won’t compromise on hardware quality, because a safety gate that fails to latch is worse than no gate at all, since people trust it.
That combination depends on a reliable closer and a self-latching catch working together. Both have to keep their adjustment over years of weather and use, which is exactly why the cheap versions don’t belong on a safety gate.
Closers and the role of the gate closer
A gate closer is the device that pulls the gate shut after someone walks through. On safety gates it’s mandatory; on any other gate it’s the difference between one that reliably stays closed and one that’s propped open half the time. Closers come in hydraulic and spring types, and a good one lets you adjust both the closing speed and the final latching force, so the gate seats firmly into the latch without slamming.
Cheap closers are a common callback. They lose their adjustment within a season and end up either slamming the gate hard enough to damage the latch or stopping just short so it never catches. A quality closer matched to the gate’s weight, mounted where the weather won’t wreck it, is worth the difference.
Drop rods and cane bolts for double gates
When you have a pair of swing gates meeting in the middle, one leaf is the active one you use daily and the other stays fixed most of the time. That fixed leaf needs a drop rod, also called a cane bolt, that pins it into a socket set in the ground or the driveway slab. The drop rod gives the active leaf something solid to latch against. Without it, both leaves float, the latch has nothing fixed to catch, and the gates rattle, drift out of alignment, and eventually stop closing cleanly.
It’s a small piece of hardware that’s easy to leave off a cheap double gate, and its absence is one of the first things we look for when a pair of gates won’t latch properly.
Coastal durability: matching the hardware to the gate
Hardware corrodes, and in Metro Vancouver’s climate the corrosion shows up first at the moving parts. The rule we follow is simple: match the hardware’s corrosion protection to the gate’s, and never bolt bare steel hardware onto a finished gate. A galvanized steel gate with bare steel hinge pins and fasteners will streak rust down the leaf within a wet season, ruining a finish that cost real money to apply.
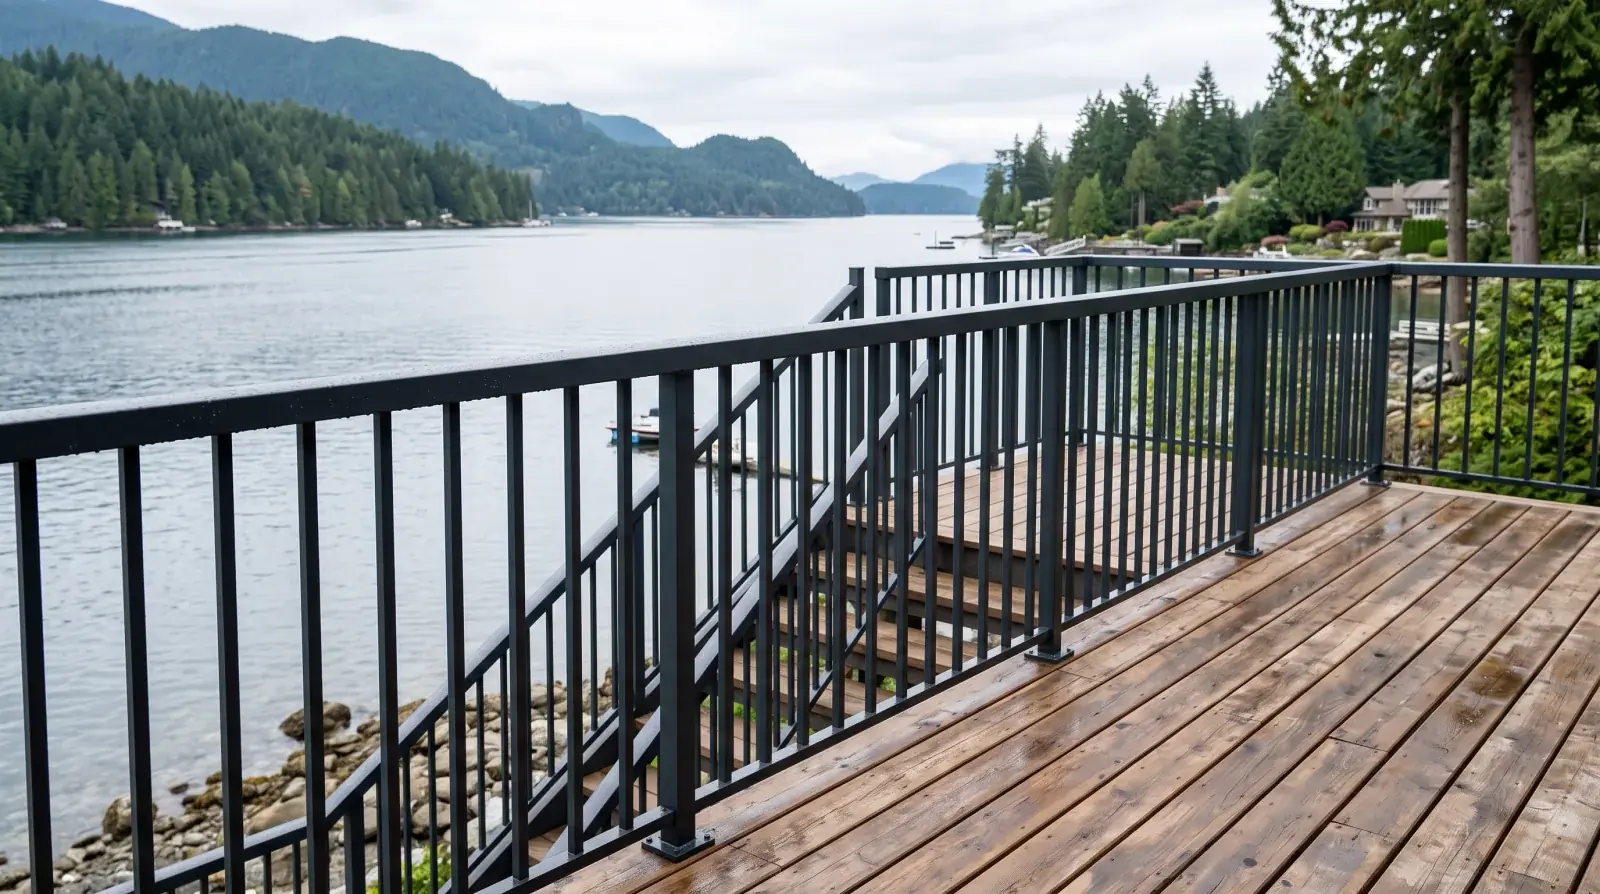
For most of the Lower Mainland, hot-dip galvanized hardware paired with a galvanized gate holds up well against our rain and damp. Closer to salt water, waterfront in West Vancouver, exposed sites on the North Shore, we move to 316 stainless for hinge pins, fasteners, and latch components, because salt air attacks galvanizing far faster than rain does. The same logic that governs gate finishing applies to every screw and pin on it; our piece on galvanizing vs. powder coating for coastal Vancouver covers the finish side in detail, and the hardware has to follow the same standard.
Getting it right the first time
The pattern we see over and over: a client carefully specs the leaf and treats the hardware as an afterthought, then calls a few years later about a gate that sags, binds, or won’t latch. Hardware is usually a small fraction of a gate’s total cost and the part most worth getting right, because it’s where cheap gates fail and where the failure is most visible. Size the hinges to the weight and the cycle count, brace the post for the load, spec a real closer and a self-latching catch, and match the corrosion protection to the gate. Do that and a good gate stays good for decades.
If you’re planning a gate and want the hardware specced to the actual weight and use rather than guessed at, request a quote and we’ll work through the details with you.